
SCROLL DOWN TO READ ALL PAST NEWSLETTERS
All About Posture
All About Posture
Welcome back to the Total Performance Newsletter! If you are a new subscriber and did not receive previous editions, let me know and I will send them over right away! This month, we will be continuing with our "Daily Habits" series, and will be taking a look at posture. First, I will start with some basics about posture. Then, I will get into some common posture "issues" that I come across, and finally I will go through a sequence of exercises that can be used to "improve" your posture. Yes, "issues" and "improve" are in quotes for a reason, which will be explained below.
Posture Basics
To start, lets define posture as the natural resting position that someone assumes. This can be in sitting, standing, or laying down-the key is that it is not a position someone actively tries to hold (like "sitting up straight"), but rather the position that the body just goes to.
As I have mentioned in previous newsletters, there is no such thing as "perfect posture." In fact, I would venture to say there is not even good or bad posture. Instead, posture just gives us information. Our bodies are naturally lazy, and it will always default to the path of least resistance in order to preserve energy. So, when we observe someone in their natural, resting posture, this provides us information as to what movement strategies someone has available to them, and which ones are most efficient to that person at that particular point in time. This also gives us information as to what movement strategies may not be available, and as a result, which specific motions may be limited. In terms of pain or injury, these potential limitations may be contributing factors. More specifics on this below.
With efficiency and minimizing energy expenditure in mind, it is important to note that when we are trying to change posture, these changes should not be something that needs to be actively held or forced, but rather just the resting state that your body defaults to. More on the specifics of how we do this are below under "Improving Posture."
Common Posture "Issues"
Let's start this section by addressing why "issues" is in quotes. As made obvious above, there is no real issue with a specific posture and there is no posture that is better or worse than another. Instead, the value in looking at someone's posture is that it gives information into how that person may move, which can then potentially correlate with pain or injury they may be experiencing. So, we can use resting posture as just one indicator of how our treatment is changing the movement options someone has available to them. Typically, more movement options = better movement mechanics = less pain. Now, let's dive into 2 of the most common "issues" that I come across.
The most common posture "issue" that I typically see is being stuck in one position for a prolonged period of time. While no specific posture is inherently bad, being stuck in any one posture or position for a prolonged period time is where problems occur. This goes for slouching, standing up tall, or any other postural positions we tend to utilize. If we are stuck in one position or just use one movement strategy over and over again, we place repetitive stress on specific areas. Over time, this repetitive stress can lead to motion limitations and therefore, contribute to various aches, pain, and injury. Put simply, "the best posture is the next posture" or "static is the enemy." Here is a video link to provide a visual of this: https://youtu.be/Gl2J_kEIYZ8
Another common posture "issue" that people worry about is slouching, and then over-correcting for it by "standing up tall." It is fair to say that if you are slouched all day long, you are creating compression and tension throughout various parts of your chest, shoulders, trunk, neck, and upper back. However, if you over-correct by standing up tall and following the common advice of "pulling your shoulders back", now you are just creating compression and tension in different parts of the upper back, shoulders, trunk, low back, and neck. It is a "robbing Peter to pay Paul" situation. While the intention of not slouching may have value, the common over-correction just moves the problem somewhere else. Here is a video link to provide a visual of this: https://youtu.be/iWcKVv4rZZM
"Improving" Posture
Let's start this section off with why "improving" is in quotes. When we talk about improving posture, we are not trying to improve a posture by itself. Instead, we are looking to see if our treatment approach is changing posture in a way that would indicate we have increased or improved the range of motion/movement strategies that our body has available. Now, let's dive into some specific ways to make these changes.
The first step of "improving" posture is simply having an awareness of your body and being sure to shift positions on a regular basis. This is especially helpful for people who find themselves stuck in one position for prolonged periods of time. For these people, I suggest doing what I call check-ins. It is very simple-just take a pause in whatever you are doing and figuring out where your body is in space. Have you been slouching for a while? Or trying to sit up tall? Have you been standing on your right leg for too long? Have you been leaning more on your left side versus your right while driving? Whatever you find, the goal is just to move into a new position. This can include anything from getting up and going for a walk or just shifting your weight to the other side. At first, these check-ins usually have to be frequent and require some cognitive effort, but they become more natural and require less attention the more you do them.
A more specific version of this check-in strategy is something I call the "chin tuck/breathing check-in." This is specifically for people who find themselves in the typical slouch/forward head posture. To do this, you want to start by putting your finger on your chin-you will probably notice it juts forward. From here, you want to perform a chin tuck-gently push your chin backwards towards your neck and move the top of your head upwards. Move back and forth between the extreme ranges of motion (chin jutted forward, chin tucked) a few times, and then rest somewhere in the middle between those two positions. The point of this is to bring awareness to where you head/neck is in space, and then find a neutral, relaxed position-it is important to remember we are not stretching or strengthening any muscles-we are just bringing awareness to a position. Once you find a neutral neck position, we are going to move on to the breathing portion. Put one hand on your chest and one on your lower back. Take long, slow, deep, relaxed, inhales through your nose, with long, slow, relaxed exhales through your mouth. As you breath in, you should feel a gentle expansion in your chest and your low back-if you get these spots, you know that breathing in a nice, 360 degree manner. As you exhale, you should feel these areas "deflate" and relax. After a few breaths, let your arms hang and feel where you body is-everything should feel relaxed and neutral and you should feel like you are less slouched without putting in any effort. You can do this a few times throughout the day as you build awareness. Here is a video link to demonstrate: https://youtu.be/bqXG64FskTI
Finally, here is an exercise sequence that can improve your natural resting posture. Each person can utilize different combinations of these exercises depending on what specific limitations they may have, but going through this sequence will cover all your bases. Basic idea behind this sequence is to open up all areas of the ribcage/trunk, and then utilize this increased range of motion to help make it stick. Sets, reps, and cues to remember are listed below, and the names of the exercises are links to demonstration videos:
Sidelying Rib Smash Breathing; 2-3 sets of 6-8 breaths per side, per set
use a yoga block or foam roller; inhale through your nose, exhale through your mouth with slow, controlled, relaxed breathing; slowly melt into the yoga block/foam roller with each breath; purpose here is to expand the ribcage front to back, which allows for better motion
Quadruped Breathing; 2-3 sets of 6-8 breaths per set
hips gently tucked, upper back gently pushed away from hands, eyes just in front of hands; inhale through your nose, exhale through your mouth with slow, controlled, relaxed breathing; as you inhale, should feel gentle stretch in upper back-do not lose position as you exhale; purpose is to open up back of ribcage/trunk, decreasing the tension caused by slouching or pulling shoulder blades back
Hooklying Pullover w/Breathing; 2-3 sets of 8-10 reps per set
as you reach overhead, inhale through your nose; exhale through your mouth as you return to starting position; only reach as far as you can without ribs flaring or lower back arching; should feel gentle stretch in chest as you reach overhead/inhale; purpose is to open up front of ribcage and decrease compression caused by prolonged slouching
Seated Alternating Rows; 2-3 sets of 8-10 reps per side, per set
start with long arms, feeling a gentle stretch in the upper/mid back; perform rows in alternating fashion while eyes/chest stay pointed forward; when each arm is long, allow it to reach long and feel gentle stretch in upper/mid back; purpose is to use the range of motion gained from previous exercises to help it stick better
Alternating DB Floor Press; 2-3 sets of 8-10 reps per side, per set
inhale through your nose as you lower each arm, exhale through your mouth as you press up; should feel gentle stretch in chest as you lower each arm; purpose is to use the range of motion gained (especially in chest) from previous exercises to help it stick better
Usually we can see pretty quick changes with this sequence of exercises, and as long as we continue to follow a well rounded, individualized training program then we should see them stick long-term!
Hopefully this provided a comprehensive overview to the ins and outs of posture and maybe cleared up some common misconceptions!
Stay tuned for next month’s newsletter, where will we move on from the "Daily Habits" series and start to talk about more specific rehab/training topics. Also, if you have any topics that you want to see covered in a future newsletter, please let me know!
Brett
How to Improve Your Walking
How to Improve Your Walking
It all begins with an idea. Maybe you want to launch a business. Maybe you want to turn a hobby into something more. Or maybe you have a creative project to share with the world. Whatever it is, the way you tell your story online can make all the difference.
Don’t worry about sounding professional. Sound like you. There are over 1.5 billion websites out there, but your story is what’s going to separate this one from the rest. If you read the words back and don’t hear your own voice in your head, that’s a good sign you still have more work to do.
Be clear, be confident and don’t overthink it. The beauty of your story is that it’s going to continue to evolve and your site can evolve with it. Your goal should be to make it feel right for right now. Later will take care of itself. It always does.
A Deep Dive on Sitting
A Deep Dive on Sitting
Welcome back to the Total Performance Newsletter! If you are a new subscriber and did not receive last month's edition, let me know and I will send it over right away! This month, we will be continuing with our "Daily Habits" series, and will be taking a look at sitting. Yes, you read that correctly-we are going to take a deep dive into all things sitting; what "proper" sitting posture should look like, how to make prolonged sitting more comfortable, and even how to "staying moving" while sitting.
Before we get into details, lets talk about sitting in general. Sitting often gets a bad reputation, with some even going as far as saying "sitting is the new smoking." Of course, sitting around all day is not ideal for optimal health, but it is a normal part of human life and we should have strategies available to us to ensure it does not hinder our health, fitness, or performance goals.
Sitting Posture
With that being said, lets take a look at what "proper" sitting posture looks like. Proper is in quotes because in reality, there is no such thing as good or bad posture. Sitting up tall is not inherently good or bad. Slouching is not inherently good or bad. Problems begin to arise when we are stuck in any one position for a prolonged period of time. When are static for extended periods of time, muscles tighten up, joints stiffen, and our body gets used to this position. So when we go to move, our body says "not so fast," and this is when we often experience those aches and pains.
The solution? Change up your sitting position on a regular basis. If you've been slouching for a while, sit up straight for a bit. If you've been trying to sit up straight for a while, let yourself slouch. Check in with where your weight is distributed. If you feel that you are more on your right side, shift to your left, and vice versa. Put your feet out in front of you for a bit. Tuck them under the chair after a while. These are just some suggestions, but the idea here is that you should regularly change up how you are sitting. That does not mean you need to constantly fidget around, but rather just check in once in a while and make some subtle shifts and adjustments. To summarize, there is a saying that puts it simply-"the best posture is the next posture."
Making Sitting More Comfortable
Next, lets take a look at ways to make sitting more comfortable. Besides for being static and the resulting stiffening of muscles/joints, one of the reasons sitting can cause problems is because of the constant pressure it puts on the part of our hips/glutes/legs that we are sitting on. So, in addition to changing postures, another strategy we can use is to change where that pressure is distributed. These are some very simple strategies that can be used almost anywhere.
1) Sit on a thin book, magazine, folded up towel, or some similar object. You can sit on it with both hips, or put it under one hip at a time. Play around with all options and see what works best. You usually do not need much elevation at all to make a difference in pressure distribution, especially when putting it under one hip at a time.
2) Elevate your feet on a book, pillow, folded towel, or small stool. Try elevating both feet at the same time or alternate between elevating each foot separately. Similar to above, it does not take much elevation to change the part of our pelvis where pressure is distributed.
3) Alter your foot pressure. This one may seem minuscule, but it can be a game changer. Often times, we find ourselves on the outside of our feet, especially when sitting. This position puts some slight tension on the outside of our legs all the way up into the hips and low back. If held over a longer period of time, this tension can really start to irritate the hips and low back. If you notice you're in this position, spend some time with your feet deliberately flat on the ground, with a slight emphasis on the inner part of your feet. This can relieve that outer hip/low back tension and make both sitting and standing up afterwards much more comfortable.
Next time your stuck at your desk or on a long drive, give these a shot and see how they feel.
Moving While Sitting
Finally, lets talk about moving while sitting. The best option here is to actually get up and go for walks periodically. But, sometimes this isn't feasible, so we will go over some ways to get some movement in while you are sitting. Here are some exercises you can do while seated in pretty much any chair or car.
1) Seated Adductor Squeezes; put something between your legs-a foam roller, folded up pillow, or a small ball will work well, but you can even put your fist between your knees if nothing else is available. Make sure feet are flat and pointing forward. From here, simply squeeze the object between your knees, hold for 2-3 seconds, relax, and repeat for 10-12 reps at a time. As you squeeze, you should feel your inner thighs working a bit. This inner thigh (adductor muscles) contraction will take some pressure off the low back and glutes. Here is a demonstration video: https://youtube.com/shorts/0Fvkp--Ditc
2) Seated Hip Shifts; you can put something between your knees, same as above, or just do it without as shown in the video below. Make sure feet are flat and pointing forward. From here, shift one knee back and one knee forward, pause briefly, then repeat on the other side and continue to alternate for 8-10 reps per side. Though you are focusing on shifting your knees forward/back, the movement is really happening from the hips-with the leg that is pulled back, you may feel some gentle stretching/work in the glutes and/or inner thigh-if you don't, that is okay, as long as the movement is happening through the hips. Getting reciprocal movement through the hips will help keep the hips and low back loose. Here is a demonstration video: https://youtube.com/shorts/6sCpTa7WCP0?feature=share
3) Desk Breathing; you will need a desk for this one, but it will be great for keep the upper back/neck loose while sitting for prolonged periods. Get set up sitting close to the desk, feet flat, elbows on the desk. Sit straight with chest/eyes pointing forward without arching through the back. Elbows should be bent with palms facing you. From here, gently push the upper back away from your hands without slouching-you will feel a gentle stretch in your upper back between your shoulder blades; then, take long, slow, relaxed, deep inhales through your nose, and long, slow, relaxed, full exhales through your mouth without losing position. As you inhale, you should feel a gentle stretch through your upper back; repeat for 6-8 breaths at a time. Here is a demonstration video: https://youtube.com/shorts/TeNr7umOk0U
Try these exercises out and see how they feel.
To wrap this up, sitting for prolonged periods of time is not ideal, but it is part of our lives, so it is best to have some options to minimize potential issues and keep us feeling good. Next time your stuck at your desk, on a long flight, or sitting in traffic, try some of these strategies and see which ones work best for you!
Stay tuned for next month’s newsletter, where will we continue to break down some common daily activities and provide some strategies to make them more tolerable if you are dealing with pain or injury. Also, if you have any topics that you want to see covered in a future newsletter, please let me know!
Brett
Daily Mobility Routine
Daily Mobility Routine
Welcome to first official edition of the Total Performance Newsletter! For the first few editions, we will be doing a “Daily Habits” series. We will look at quick and easy routines that will keep you feeling good and moving well, as well as breaking down common daily activities and providing strategies to perform these activities if you are dealing with pain or injury.
For the for first installment of the “Daily Habits” series, we’ll take a look at a quick and effective daily mobility routine that can be performed with no equipment and minimal space. The goal here is to loosen up the hips, shoulders, and trunk. It is most effective to use this first thing in the morning to get you moving, during a break at work after sitting for prolonged periods of time, after a long day of traveling, or even if you need a quick warmup before a workout. Check it out below!
Perform these exercises as a circuit for 2-4 rounds. The names of the exercises are hyperlinks to video demonstrations.
1. Pushup ISO Toe Tap; 6-8 reps per side
a. Cues to remember: in the starting position, make sure hips are gently tucked and upper back is pushed away from your hands-be sure to return to this position after each rep and reset as needed; if you need to make it easier, put your hands on an elevated surface
2. Airplane Windmill; 8-10 reps per side
a. Cues to remember: hips/knees should be at 90 degree angles, but feel free to move the front leg outwards if needed; as you rotate, keep you eyes on the hand that you are rotating towards; allow the front knee to travel backwards, but do not let it roll outwards once you have found your starting position
3. Modified Side Plank w/Rotation; 6-8 reps per side
a. Cues to remember: make sure the supporting elbow is lined up right under the shoulder, with the crease of the elbow just in front of the shoulder; as you rotate, be sure to follow the rotating arm with your eyes
4. Lateral Squat w/Reach to Instep; 6-8 reps per side
a. Cues to remember: as you sit to once side, pretend you are sitting in a chair that is diagonally behind you; as you sit-let the hips and knees help you get there; keep the opposite leg straight; reach the opposite arm towards the foot you are sitting towards and let the torso move down naturally
The key with these exercises is to stay within ranges of motion you can control and that feel good-you will notice you can increase range of motion over time. Each of these exercises can be modified if you are dealing with pain or injury-if you need some help with this, feel free to reach out and I’d be more than happy to help.
Give this routine a shot and let me know what you think! And if you have family or friends that may benefit, share it with them as well!
Stay tuned for next month’s newsletter, where will we begin to break down some common daily activities and provide some strategies to make them more tolerable if you are dealing with pain or injury. Also, if you have any topics that you want to see covered in a future newsletter, please let me know!
Brett
Total Performance Physical Therapy Newsletter
Total Performance Physical Therapy Newsletter
Welcome to the Total Performance Newsletter! If you are receiving this email, it is because you are currently working with Total Performance Physical Therapy, or have worked with me in the past. This is the introduction of my new monthly newsletter, which will officially begin August 1st. The newsletter will vary each month, but will contain useful tips to improve your health, fitness, and performance, and provide insight into how I help my patients and clients each day. If you wish to unsubscribe, feel free to do so anytime by clicking on the "Unsubscribe" link at the bottom of the email. However, I do encourage you to stick around for at least a few emails and see if the information I provide is valuable to you!
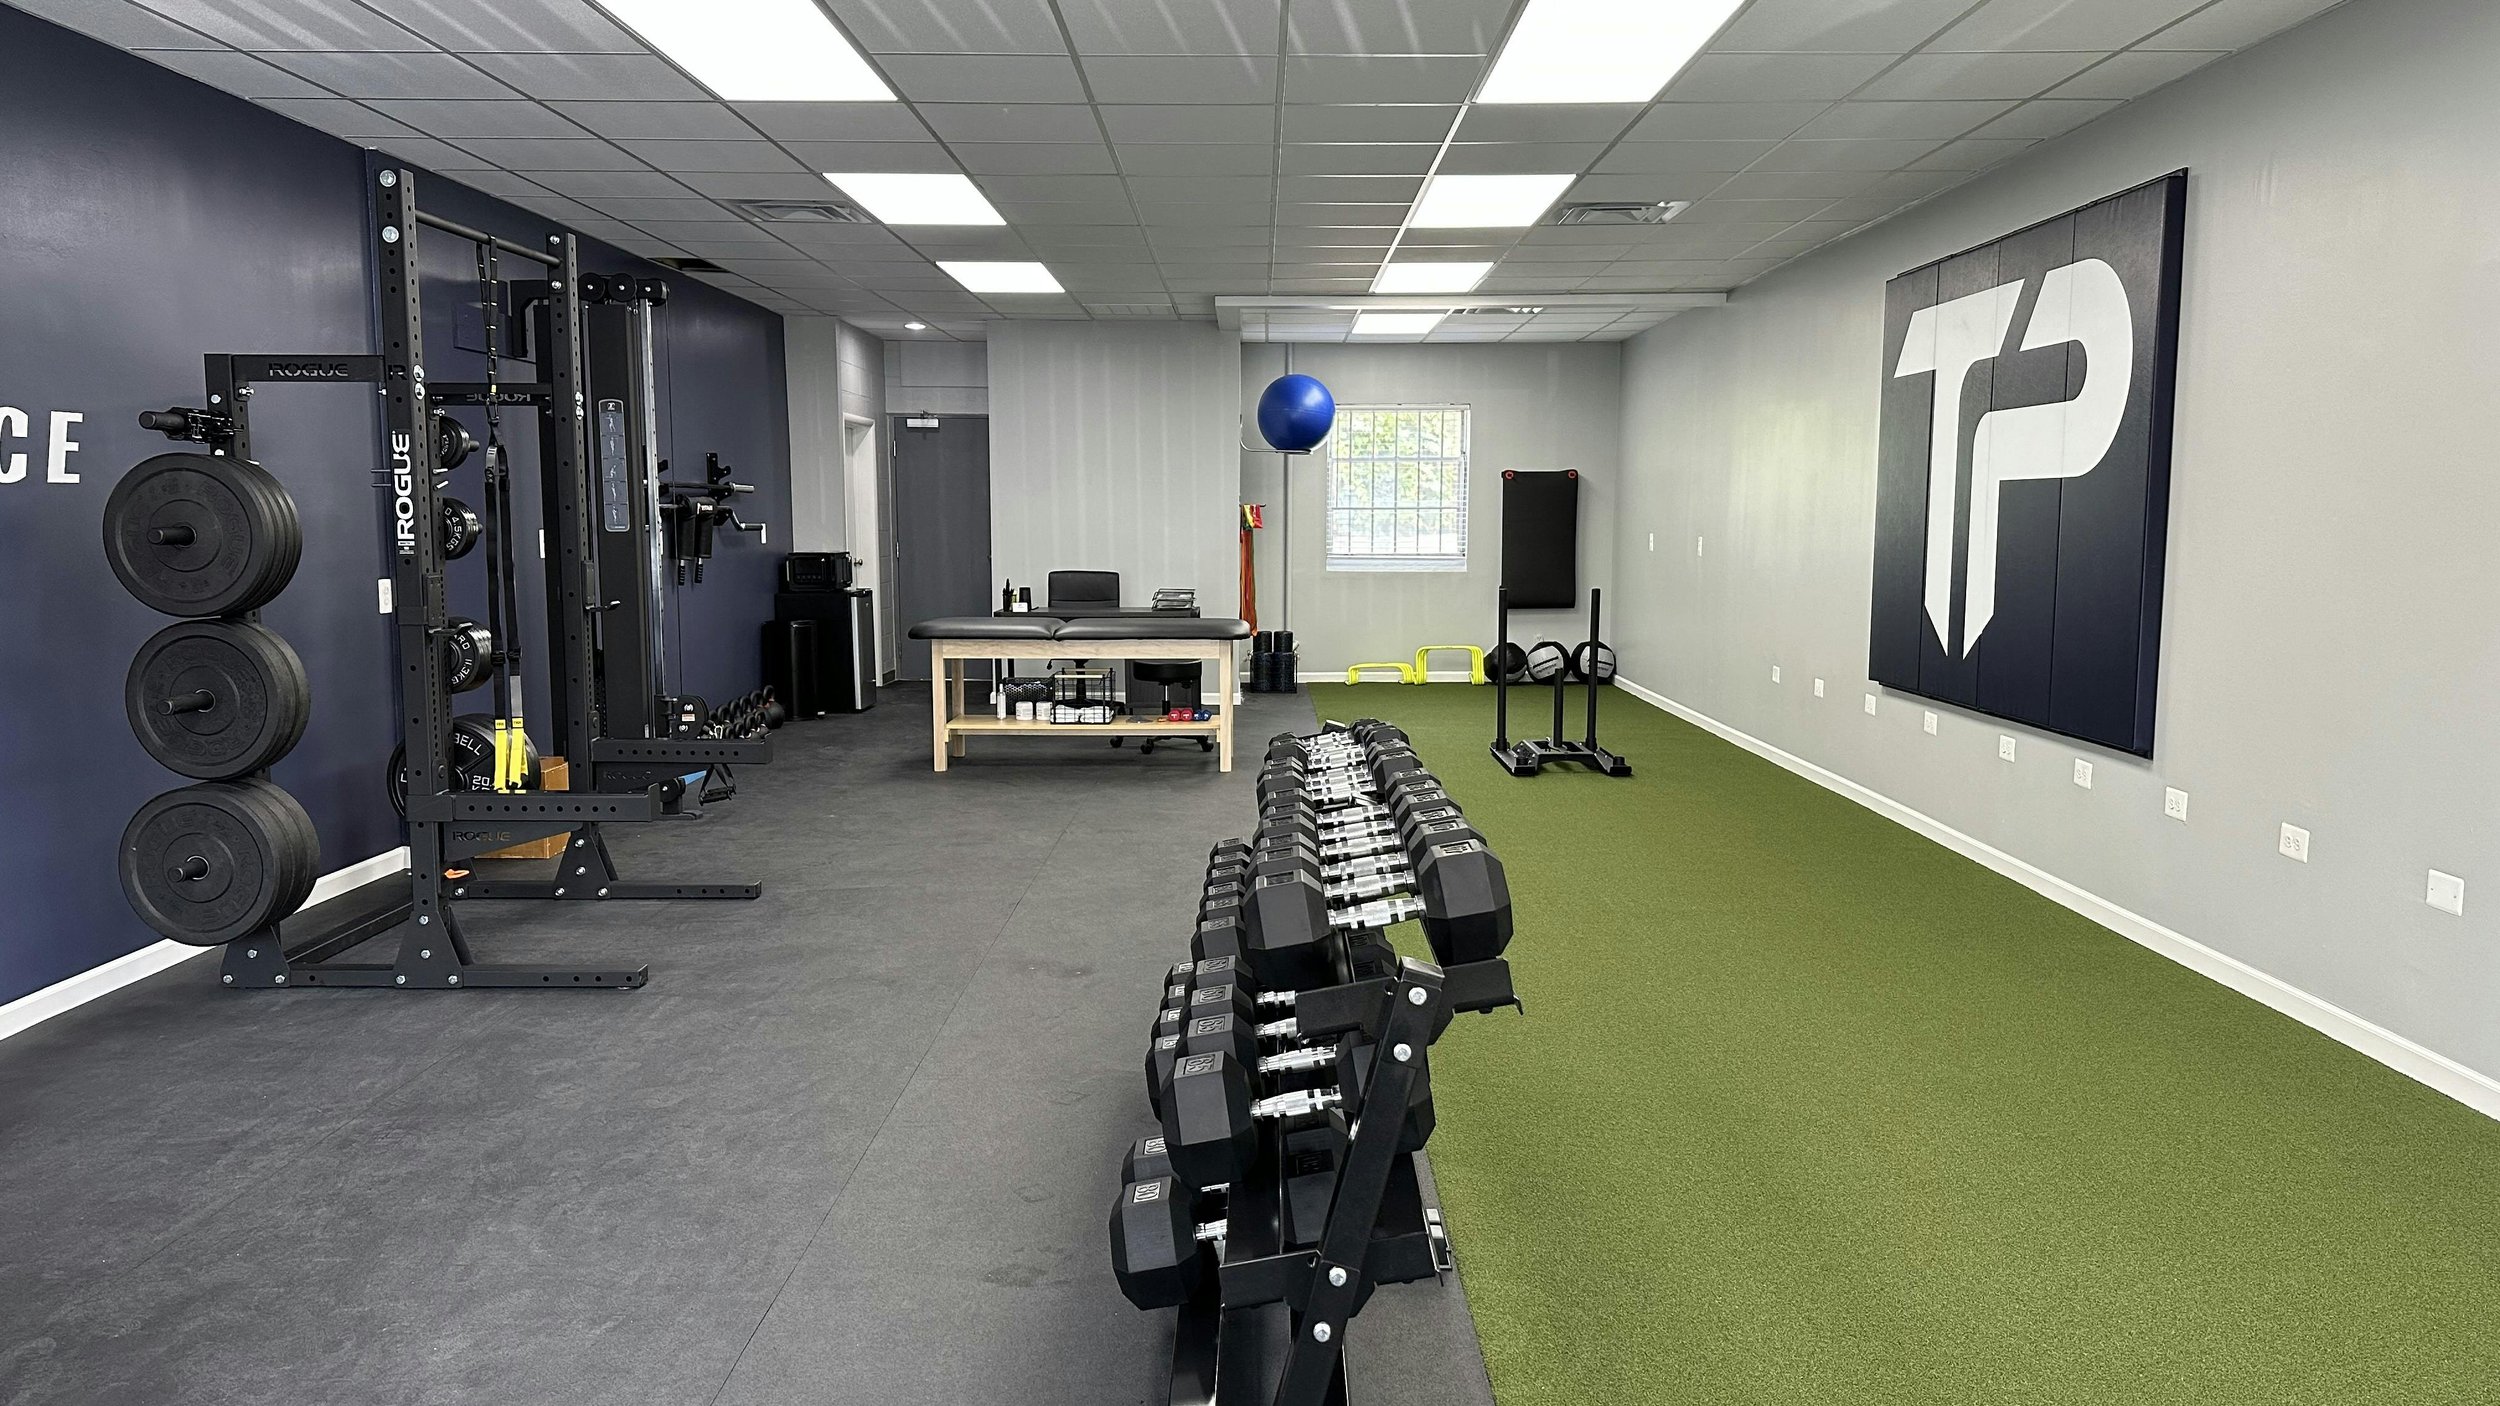
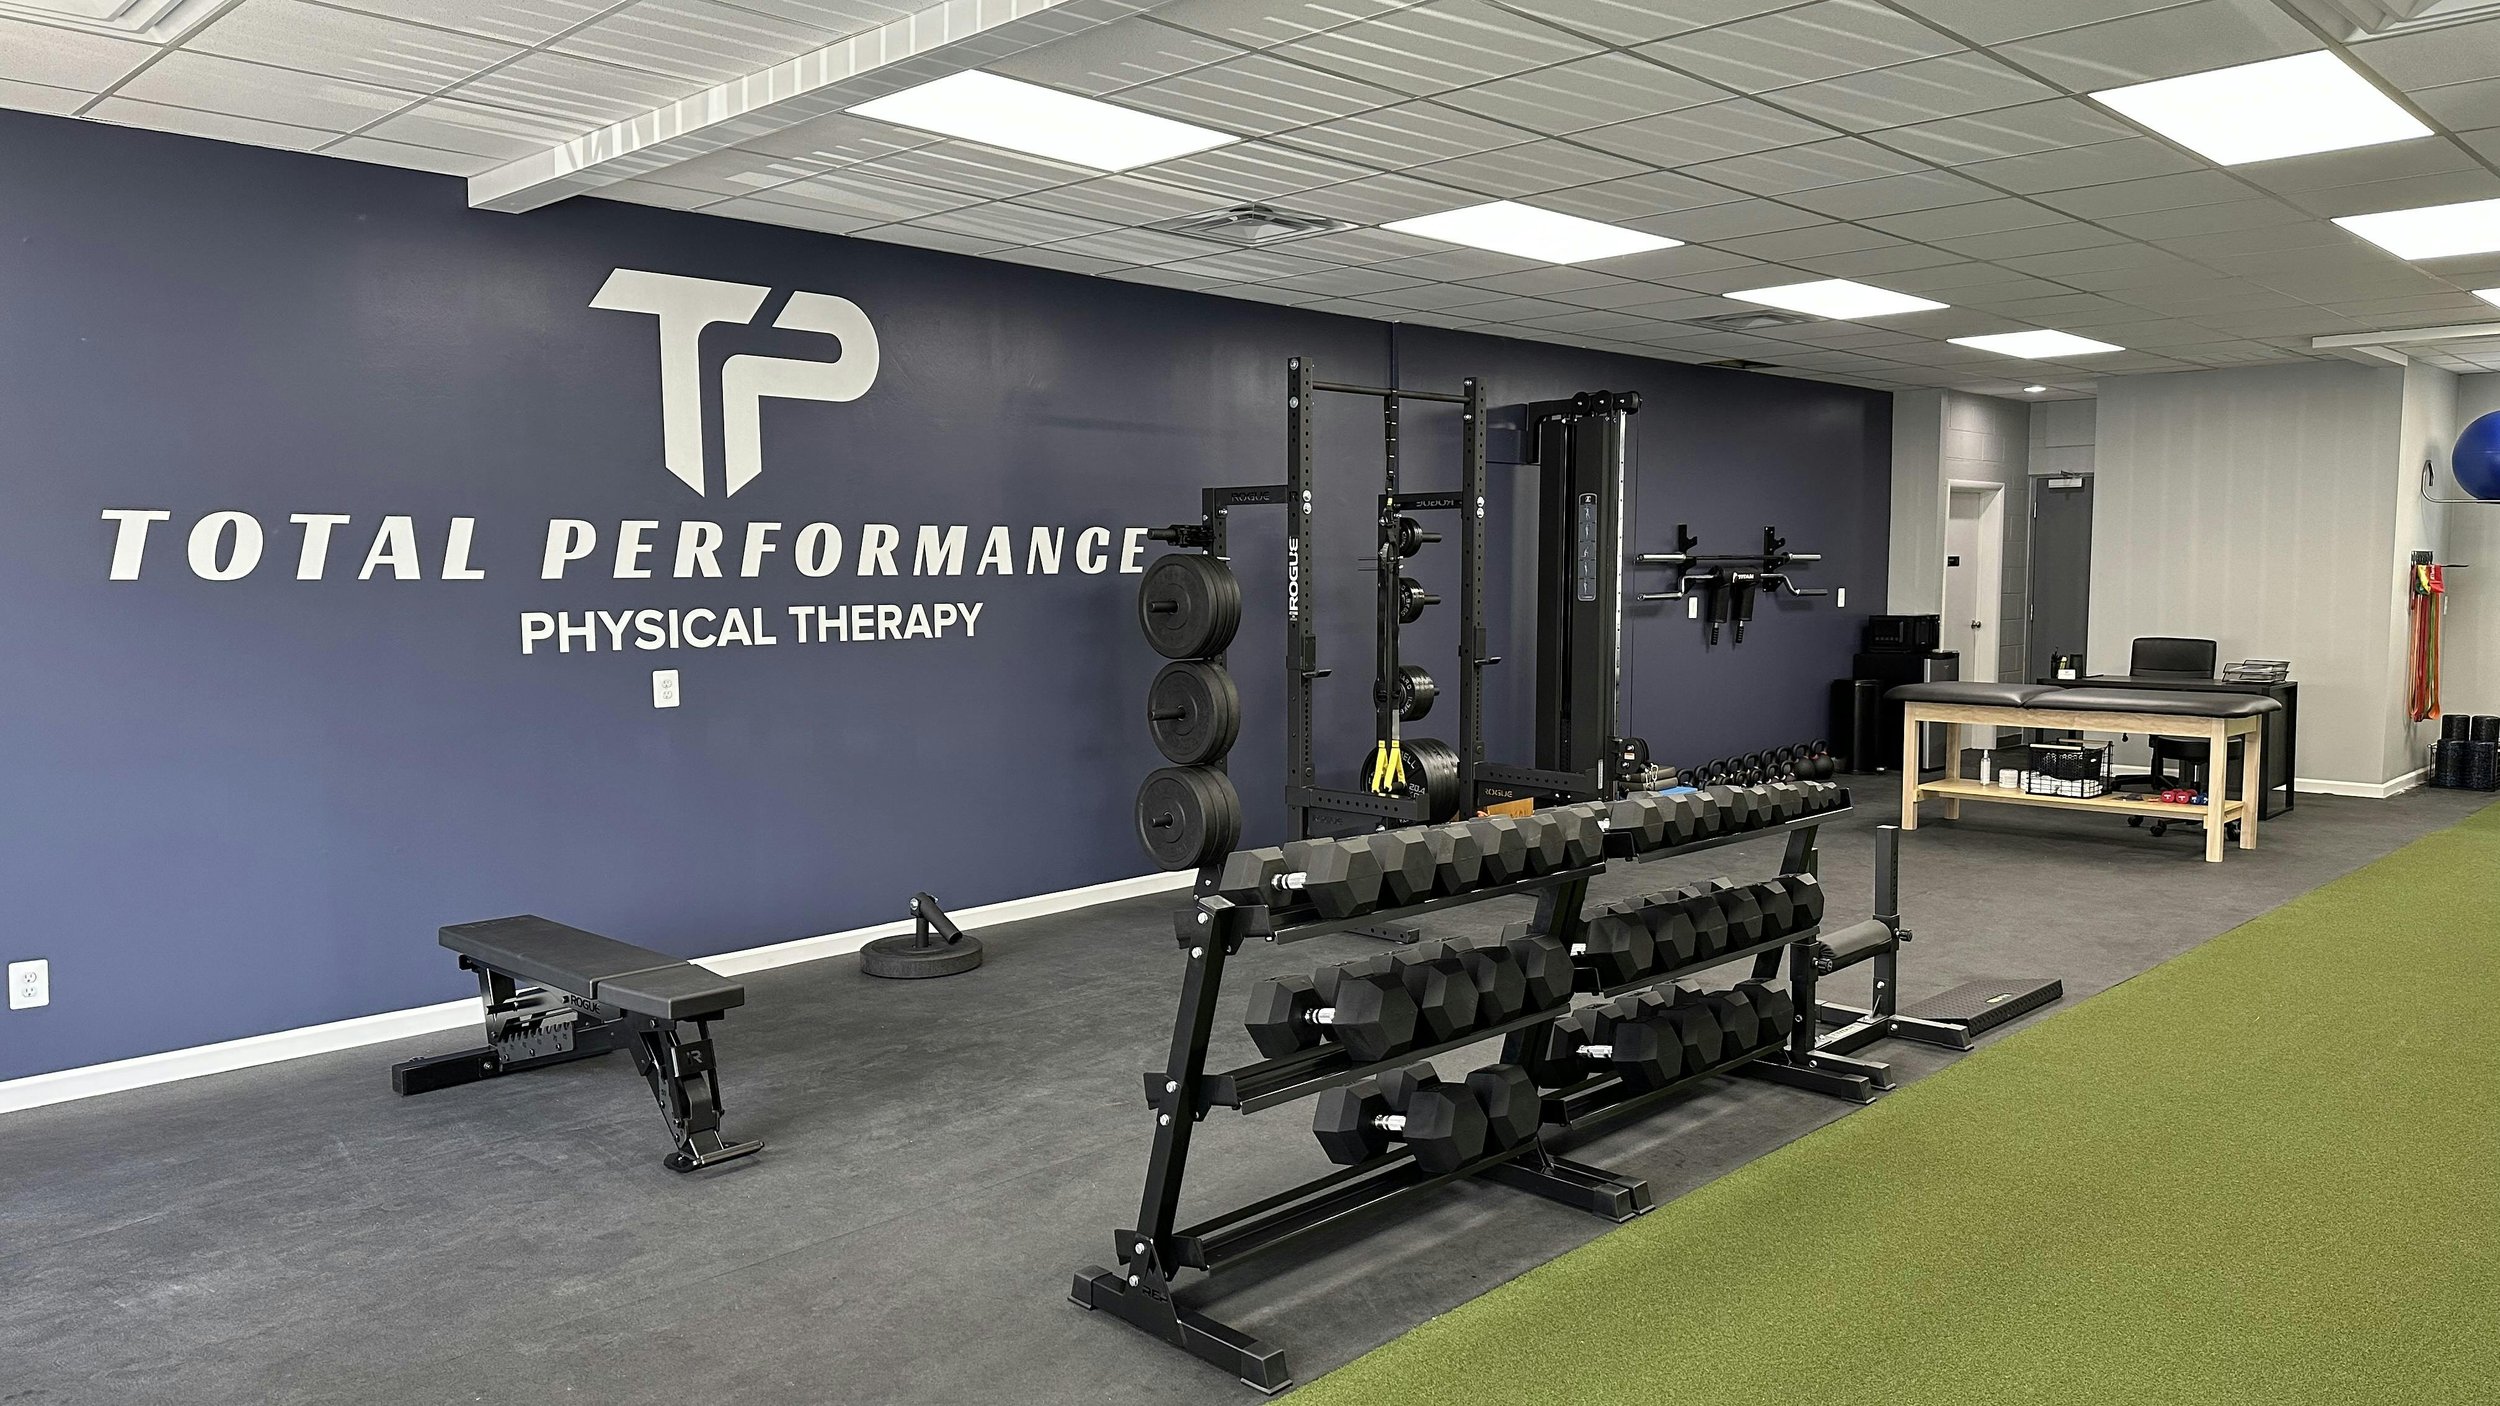
For this introductory edition, I want to officially announce the opening of my new facility! I have moved to my own stand-alone space, located at 2474 Orchard Lake Road, Sylvan Lake, MI 48320. This move was in the works for a long time, and I could not be more excited for this next chapter for Total Performance Physical Therapy. I also want to give an enormous and heartfelt thank you to all of my patients and clients, who have supported me since I first opened my practice and have entrusted me with their care. I look forward to continuing our work in pursuit of your health, fitness, and performance goals in our brand new space. Check out some pictures below!
Be on the lookout for the first edition of the newsletter in a few weeks, and if you think any of your family and friends may benefit, feel free to share it with them with this link!
https://total-performance-physical-therapy.ck.page/e98ccf1b07

All the Best,
Brett